Installing baseboards is a crucial step in achieving a polished, finished look for your home’s interior. Baseboards not only add aesthetic value but also protect your walls from damage. However, to ensure a durable and attractive installation, selecting the appropriate size finishing nails is essential. In this ultimate guide, we’ll explore the importance of choosing the right nail size, provide recommendations based on various factors, and offer tips for achieving professional-looking results.

Why Nail Size Matters for Baseboards
Choosing the right size finishing nails for your baseboard installation is crucial for several reasons. First and foremost, the nail size directly impacts the stability and durability of your baseboards. Using nails that are too small may not provide sufficient holding power, causing the baseboards to come loose over time. On the other hand, using nails that are too large can lead to unsightly splitting or cracking of the baseboard material.
Nail size also plays a role in the overall appearance of your baseboards. Using nails that are too large can result in visible nail holes that detract from the smooth, seamless look you’re aiming for. By selecting the appropriate nail size, you can minimize the appearance of nail holes and ensure a more aesthetically pleasing finish.
Recommended Sizes of Finishing Nails for Baseboards
When it comes to choosing finishing nails for your baseboard installation, there are some commonly recommended sizes to consider. Generally, finishing nails ranging from 15 to 18 gauge and 1.5 to 2.5 inches in length are suitable for most baseboard applications.
However, the specific size you choose will depend on several factors, including the thickness of your baseboards and the type of wall material you’re nailing into. For thicker baseboards (3/4 inch or more), longer nails in the 2 to 2.5-inch range are recommended to ensure a secure hold. If you’re working with thinner baseboards (1/2 inch or less), shorter nails around 1.5 inches may suffice.
Factors to Consider When Choosing Finishing Nail Size
Depth of Penetration
One crucial factor to consider when selecting finishing nail size is the depth of penetration. You want to ensure that the nails are long enough to pass through the baseboard and securely anchor into the wall behind it. However, you also want to avoid using nails that are so long that they protrude through the wall and become visible on the other side.
As a general rule, aim for nails that will penetrate the wall by at least 1 inch beyond the thickness of the baseboard. This will provide a strong hold while minimizing the risk of the nails protruding through the wall.
Wall Material
The type of wall material you’re nailing into will also influence your choice of finishing nail size. If you’re installing baseboards onto drywall, you’ll want to use nails that are long enough to pass through the drywall and anchor into the wooden studs behind it. In this case, 2 to 2.5-inch nails are typically recommended.
If you’re working with plaster or masonry walls, you may need to use shorter nails and pre-drill pilot holes to avoid cracking or damaging the wall surface. In these situations, 1.5 to 2-inch nails are often sufficient.
Baseboard Material
The material of your baseboards will also play a role in determining the appropriate finishing nail size. Harder, denser materials like oak or maple may require longer, thicker nails to ensure a secure hold without splitting the wood. Softer materials like pine or MDF can typically accommodate shorter, thinner nails.
If you’re unsure about the density of your baseboard material, it’s always better to err on the side of caution and choose a slightly longer nail to ensure adequate holding power.
Step-by-Step Guide to Installing Baseboards with Finishing Nails

Preparation Before you begin your baseboard installation, gather all the necessary tools and materials. You’ll need a tape measure, pencil, miter saw (for cutting baseboards), finishing nails, a hammer or nail gun, wood filler or putty, and a caulking gun.
Measuring and Cutting
Measure the length of each wall where you’ll be installing baseboards, and mark the measurements on your baseboard material. Use a miter saw to make precise 45-degree angle cuts at the corners for a seamless fit.
Nailing Technique
When nailing your baseboards, it’s important to use the proper spacing and angles to ensure a secure hold and minimize the risk of splitting. Generally, you’ll want to place nails every 16 inches along the length of the baseboard.
Avoid nailing too close to the ends of the baseboard, as this can cause splitting. Instead, position your nails about 1 inch from each end. When using a hammer, hold the nail at a slight downward angle to help prevent it from backing out over time.
Tips for Avoiding Splits and Cracks
To minimize the risk of splitting or cracking your baseboards during installation, consider the following tips:
- Pre-drill pilot holes, especially when working with harder woods or nailing near the ends of the baseboard.
- Use a nail set to drive the nail heads slightly below the surface of the baseboard, which will allow you to fill the holes more easily.
- If you encounter resistance while nailing, stop and reposition the nail to avoid forcing it through and potentially causing damage.
Tools for Nailing Baseboards

When it comes to installing baseboards, you have a few options for nailing tools. The most common choices are a manual hammer or a powered nail gun.
Manual hammers offer greater control and precision, allowing you to carefully place each nail. However, they can be more time-consuming and require more physical effort compared to nail guns.
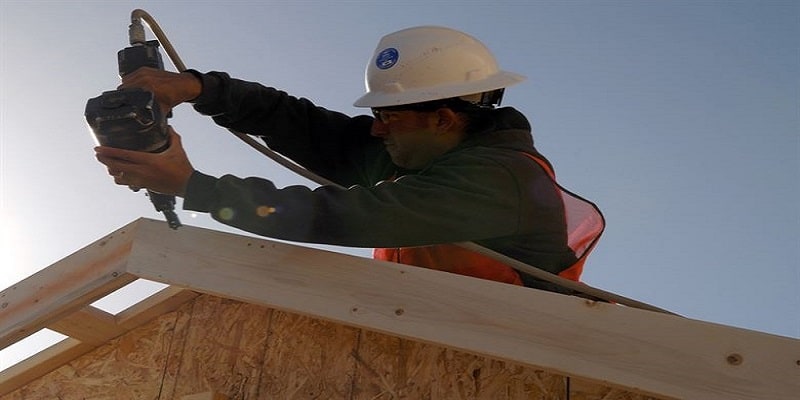
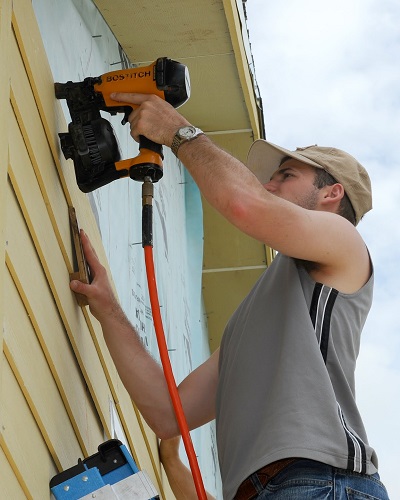
Nail guns, such as finish nailers or brad nailers, use compressed air or electricity to drive nails quickly and consistently. They can significantly speed up the installation process and reduce the risk of human error.
Finish nailers typically accommodate larger nails (15 to 16 gauge), while brad nailers use smaller nails (18 gauge) and are better suited for thinner baseboards or more delicate applications.
Common Mistakes to Avoid
To ensure a successful baseboard installation, be aware of these common mistakes:
- Using the wrong size nails: As discussed earlier, using nails that are too small or too large can lead to stability issues or damage to your baseboards.
- Incorrect nailing techniques: Nailing too close to the ends of the baseboard, driving nails at the wrong angle, or using excessive force can cause splitting or cracking.
- Skipping pre-drilling for harder woods: Harder baseboard materials may require pre-drilling to prevent splitting, especially when nailing near the ends.
- Not filling nail holes: Leaving nail holes unfilled can detract from the overall appearance of your baseboards.
Tips for a Professional Finish
To achieve a professional-looking baseboard installation, follow these tips for filling and concealing nail holes:
- Use wood filler or putty that matches the color of your baseboards. Apply the filler with a putty knife, overfilling the holes slightly to allow for shrinkage.
- Once the filler has dried, sand it smooth with fine-grit sandpaper until it’s level with the surrounding baseboard surface.
- If necessary, apply a coat of paint or stain to blend the filled holes seamlessly with the rest of the baseboard.
FAQs
Can finishing nails be used for other types of trim?
Yes, finishing nails can be used for various types of trim, such as crown molding, chair rails, or window and door casings. However, always consider the thickness and weight of the trim when selecting the appropriate nail size.
Read more: What size nails for crown molding
How to remove and replace baseboards without damaging the wall?
To remove baseboards without damaging the wall, use a putty knife or flat pry bar to gently separate the baseboard from the wall. Start at a corner or end, and work your way along the length of the baseboard, gradually prying it away. Use a utility knife to score any caulking or paint that may be holding the baseboard in place.
What are the best practices for maintaining installed baseboards?
To maintain your installed baseboards, regularly dust and clean them with a soft cloth or vacuum attachment. Avoid using excessive moisture, which can cause damage or warping. Periodically inspect your baseboards for any signs of damage, loose nails, or gaps, and address these issues promptly to prevent further deterioration.
How do I choose between a finish nailer and a brad nailer for baseboard installation?
Finish nailers are typically used for thicker baseboards (1/2 inch or more) and can accommodate larger nails (15 to 16 gauge). Brad nailers, on the other hand, are better suited for thinner baseboards (less than 1/2 inch) and use smaller nails (18 gauge). Consider the thickness of your baseboards and the desired holding strength when choosing between a finish nailer and a brad nailer.
Final Thoughts
Choosing the right finishing nail size is crucial for achieving a durable, attractive, and professional-looking baseboard installation. By considering factors such as baseboard thickness, wall material, and desired depth of penetration, you can select the appropriate nail size for your specific project.
We believe our guide “What Size Finishing Nails for Baseboards” has provided you with a comprehensive idea about choosing the right size nail for your baseboards.
Remember to use proper nailing techniques, pre-drill pilot holes when necessary, and fill nail holes for a seamless finish. With the right tools, techniques, and attention to detail, you can confidently install baseboards that enhance the beauty and value of your home.


