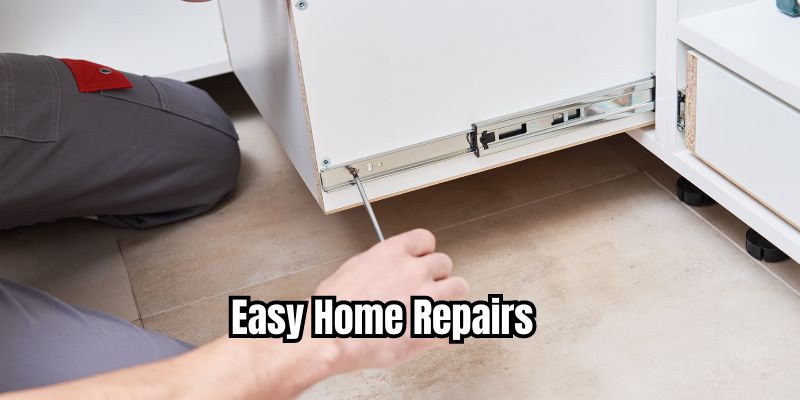
As a homeowner, it’s essential to have a basic understanding of home repairs and maintenance. Not only can DIY home repairs save you money, but they also give you a sense of accomplishment and help you better understand your home’s inner workings. This comprehensive guide will walk you through 30 easy home repairs that you can tackle yourself, even if you’re a beginner.
By learning these basic home repair skills, you’ll be able to address common issues quickly and efficiently, without having to rely on expensive professional help for every little problem. Throughout this article, we’ll cover essential tools, step-by-step instructions for various repairs, and tips to help you gain confidence in your DIY abilities.
Basic Tools Every Homeowner Should Have
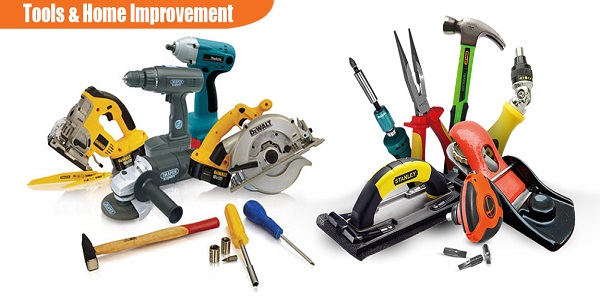
Before diving into specific repairs, it’s crucial to have the right tools on hand. Here are some essential tools that every homeowner should have in their toolbox:
- Hammer
- Screwdrivers (flathead and Phillips head)
- Pliers (needle-nose and adjustable)
- Adjustable wrench
- Utility knife
- Tape measure
- Level
- Drill and drill bits
- Sandpaper
- Putty knife
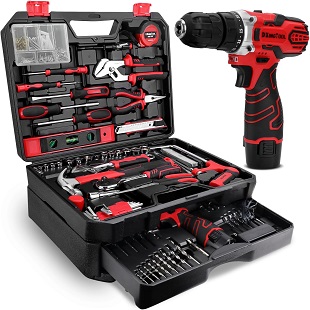
You can also grab a home tool kit box that packs all the essential tools in one place-super handy for everyday fixes without the clutter.
Investing in high-quality tools will make your DIY projects easier and more efficient. Keep your tools organized and easily accessible so you can quickly tackle any home repair that comes your way.
30 Easy Home Repairs You Can Do Yourself
1. Fixing a Leaky Faucet
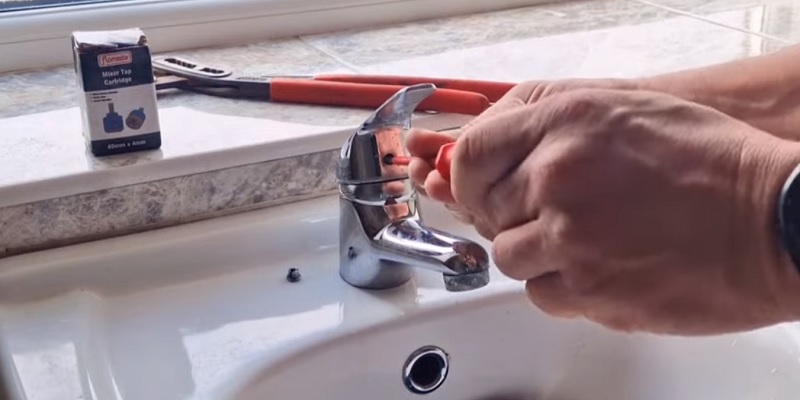
A leaky faucet not only wastes water but can also cause damage to your sink and countertop over time. To fix a leaky faucet, follow these steps:
Tools and Materials:
Steps:
- Turn off the water supply to the faucet.
- Remove the faucet handle by unscrewing the decorative cap and removing the screw underneath.
- Remove the valve stem and inspect the washers and O-rings for wear and tear.
- Replace any damaged washers or O-rings with new ones.
- Reassemble the faucet and turn the water supply back on.
- Test the faucet to ensure the leak is fixed.
2. Patching Drywall Holes
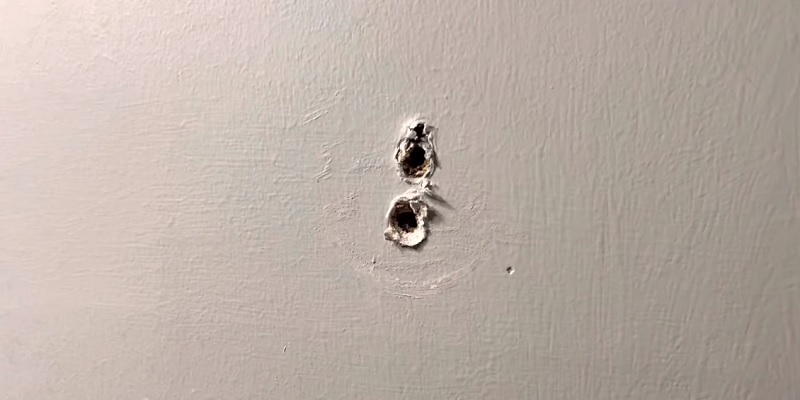
Whether from hanging pictures or accidental damage, drywall holes are a common issue in many homes. To patch a small hole in drywall, follow these steps:
Tools and Materials:
Steps:
- Clean the area around the hole, removing any loose debris.
- Apply spackle or joint compound to the hole using a putty knife, slightly overfilling the hole.
- Allow the compound to dry completely.
- Sand the area smooth with sandpaper.
- Touch up the area with paint to match the surrounding wall.
3. Repairing a Torn Window Screen
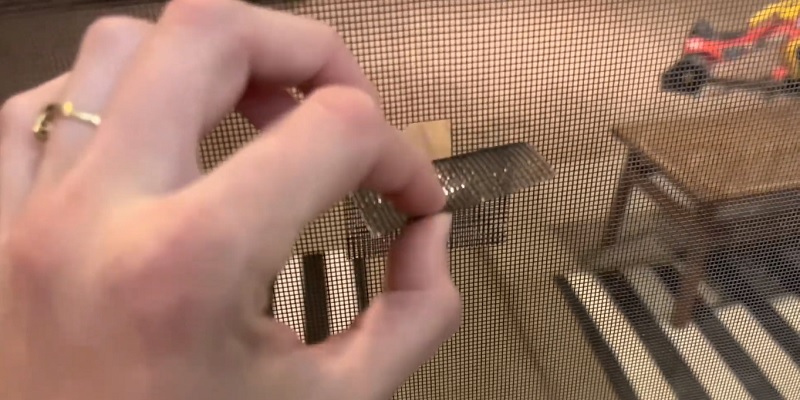
Torn window screens can allow insects and debris into your home. To repair a torn window screen, follow these steps:
Tools and Materials:
- Scissors
- Screen repair kit or screen patch
- Flathead screwdriver
Steps:
- Remove the screen from the window frame.
- Clean the screen to remove any dirt or debris.
- Cut a patch from the screen repair kit or screen material, making sure it’s large enough to cover the tear.
- Apply the patch to the tear, following the instructions provided with the repair kit.
- Replace the screen in the window frame.
4. Unclogging a Sink Drain
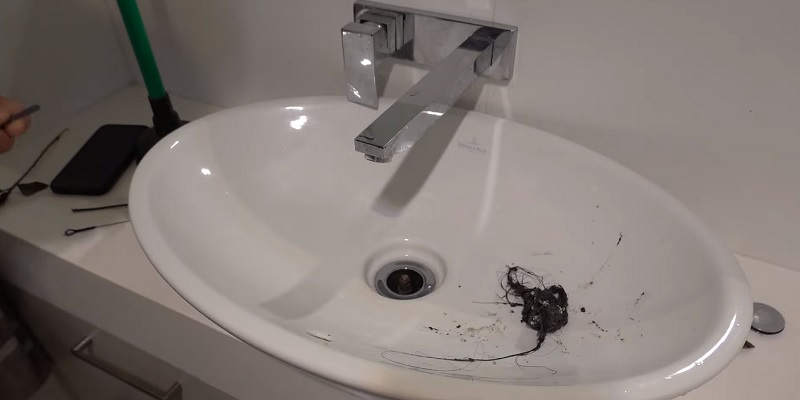
Clogged sink drains can be a nuisance, causing water to drain slowly or not at all. To unclog a sink drain, try these methods:
Tools and Materials:
- Plunger
- Drain snake or auger
- Baking soda and vinegar
Methods:
- Plunging: Cover the overflow opening with a wet cloth and fill the sink with enough water to cover the plunger head. Plunge vigorously several times to dislodge the clog.
- Drain Snake: Insert the end of the drain snake or auger into the drain and turn the handle to guide it through the pipe. Once you feel resistance, continue turning the handle to break up the clog.
- Baking Soda and Vinegar: Pour a cup of baking soda down the drain, followed by a cup of white vinegar. Cover the drain with a stopper and let the mixture sit for 30 minutes. Flush the drain with hot water.
If these methods don’t work, you may need to call a professional plumber to address the issue.
5. Replacing a Broken Tile
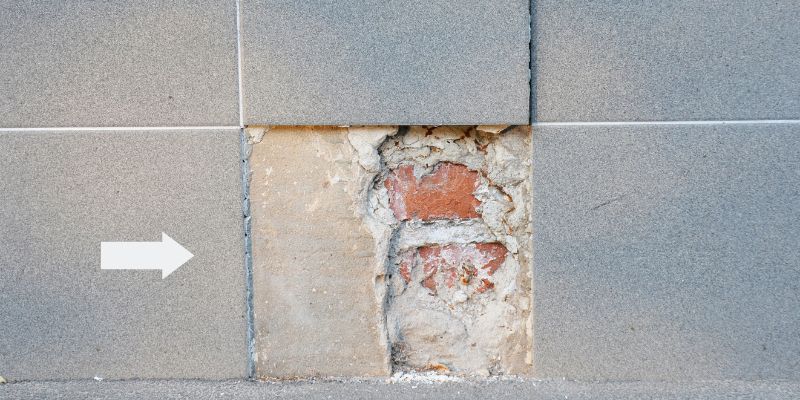
Broken tiles in your bathroom or kitchen can be unsightly and potentially dangerous. To replace a broken tile, follow these steps:
Tools and Materials:
- Grout saw or rotary tool
- Chisel
- Hammer
- Replacement tile
- Tile adhesive
- Grout
- Sponge
Steps:
- Remove the broken tile pieces using a grout saw or rotary tool to cut through the grout lines.
- Carefully chisel out the remaining pieces of the broken tile, taking care not to damage surrounding tiles.
- Clean the area thoroughly, removing any old adhesive or debris.
- Apply tile adhesive to the back of the replacement tile and place it in the empty space, using spacers to ensure even gaps.
- Allow the adhesive to dry completely.
- Apply grout around the new tile, wiping away excess with a damp sponge.
- Allow the grout to cure according to the manufacturer’s instructions.
6. Tightening a Loose Doorknob
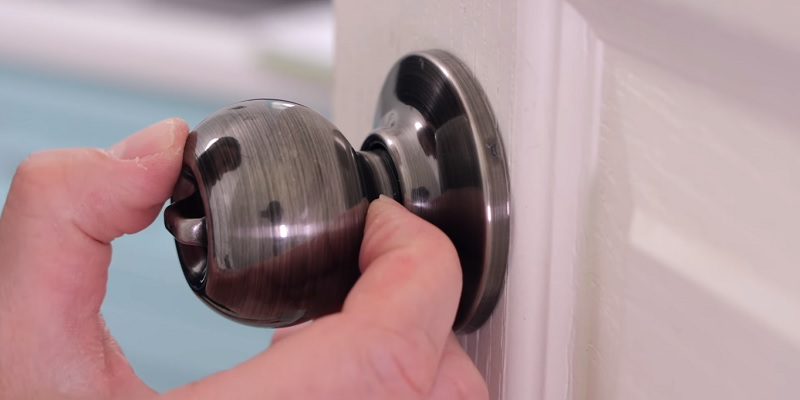
Loose doorknobs can be annoying and make it difficult to open and close doors properly. To tighten a loose doorknob, follow these steps:
Tools and Materials:
- Flathead screwdriver
- Phillips head screwdriver
Steps:
- Remove the screws holding the doorknob in place.
- Tighten the screws on the mounting plate.
- If the screws are tight but the knob is still loose, remove the knob and add a thin cardboard shim between the knob and the mounting plate.
- Reattach the knob and test for tightness.
7. Replacing a Faulty Light Switch
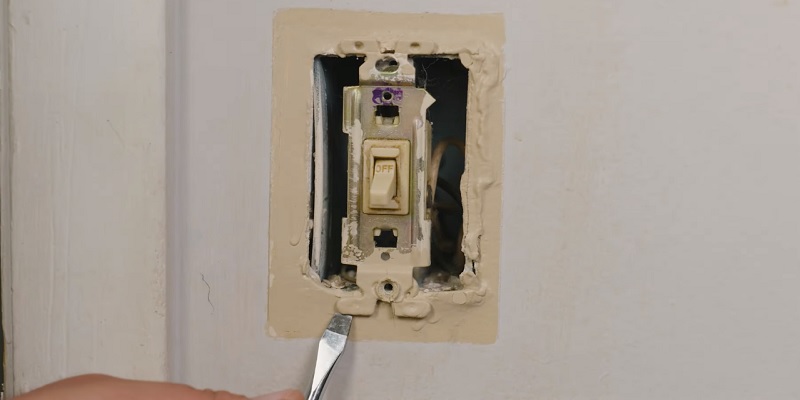
A faulty light switch can be a fire hazard and should be replaced immediately. To replace a faulty light switch, follow these steps:
Tools and Materials:
- Flathead screwdriver
- Phillips head screwdriver
- Voltage tester
- New light switch
Steps:
- Turn off the power to the switch at the circuit breaker.
- Remove the switch cover plate and unscrew the switch from the electrical box.
- Test the wires with a voltage tester to ensure the power is off.
- Disconnect the wires from the old switch and connect them to the new switch.
- Screw the new switch into the electrical box and reattach the cover plate.
- Turn the power back on and test the switch.
8. Fixing a Running Toilet
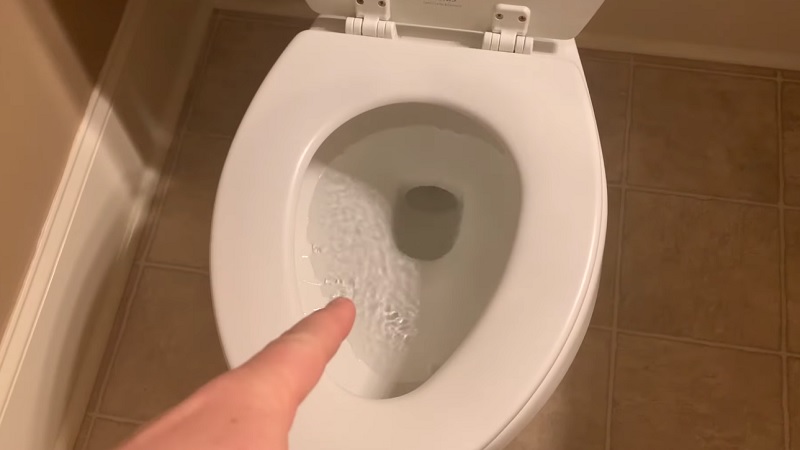
A running toilet can waste a significant amount of water and increase your utility bills. To fix a running toilet, follow these steps:
Tools and Materials:
- Toilet tank lid
- Replacement flapper or fill valve (if necessary)
Steps:
- Remove the toilet tank lid and check the flapper and fill valve for damage or wear.
- If the flapper is worn, replace it with a new one.
- Adjust the chain connecting the flush lever to the flapper, ensuring it has a slight slack.
- If the fill valve is damaged, replace it with a new one following the manufacturer’s instructions.
- Flush the toilet and check for proper operation.
9. Repairing a Squeaky Floor
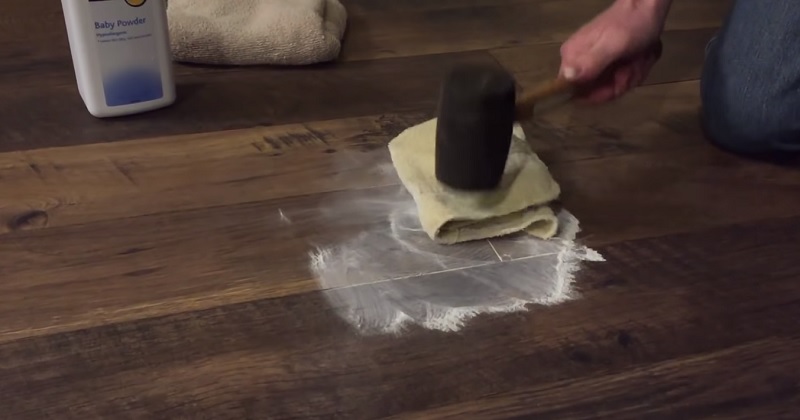
Squeaky floors can be annoying and may indicate loose or damaged floorboards. To repair a squeaky floor, try these methods:
Tools and Materials:
- Talcum powder
- Finishing nails
- Hammer
- Drill and 1/8″ drill bit
- Wood glue
Methods:
- Talcum Powder: Sprinkle talcum powder over the squeaky area and work it into the cracks. This can help lubricate the floorboards and reduce squeaking.
- Nailing: Locate the squeaky floorboard and drive a finishing nail through the board into the subfloor at a slight angle. Countersink the nail head and fill the hole with wood putty.
- Screwing: Drill pilot holes through the squeaky floorboard and into the subfloor. Drive screws into the pilot holes to secure the floorboard.
10. Fixing a Sticking Door
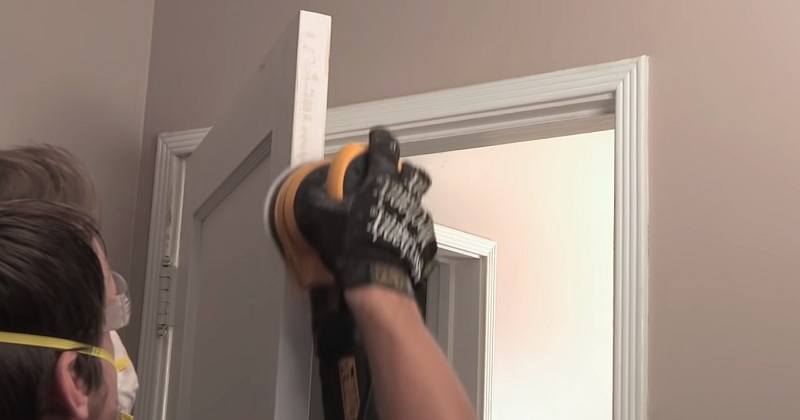
Sticking doors can be caused by humidity, settling, or misaligned hinges. To fix a sticking door, try these methods:
Tools and Materials:
- Sandpaper
- Hammer
- Door shims
- Screwdriver
Methods:
- Sanding: If the door is sticking due to paint or swelling, sand down the affected area until the door opens and closes smoothly.
- Adjusting Hinges: If the door is misaligned, remove one or two screws from the hinges and insert a door shim behind the hinge leaf. Replace the screws and test the door for proper alignment.
11. Replacing a Broken Cabinet Hinge
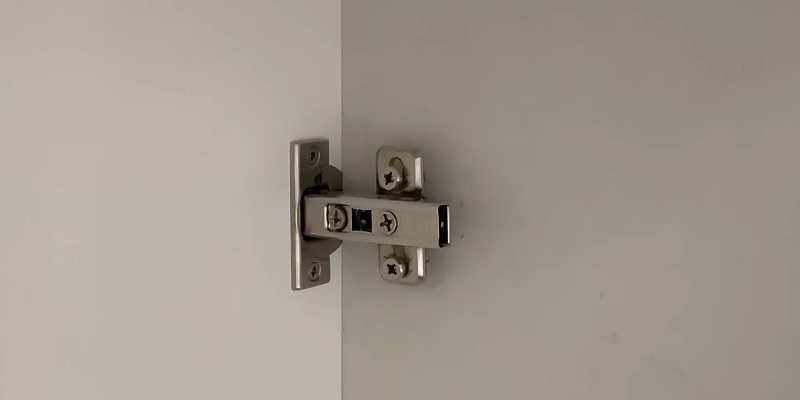
Broken cabinet hinges can cause doors to sag or fall off completely. To replace a broken cabinet hinge, follow these steps:
Tools and Materials:
- Screwdriver
- Replacement hinge
Steps:
- Remove the screws holding the broken hinge in place.
- Align the new hinge with the existing screw holes and secure it with screws.
- Adjust the hinge as needed to ensure proper door alignment.
12. Fixing a Loose Handrail Bracket
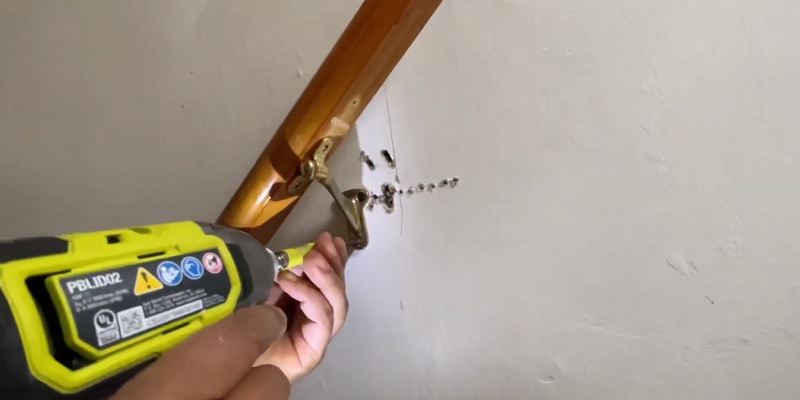
A loose handrail bracket can be a safety hazard and should be repaired immediately. To fix a loose handrail bracket, follow these steps:
Tools and Materials:
- Screwdriver
- Longer screws or wall anchors (if necessary)
Steps:
- Tighten the screws securing the bracket to the wall.
- If the screws are loose due to stripped drywall, remove the bracket and install wall anchors.
- Reattach the bracket to the wall using the wall anchors and longer screws.
- Test the handrail for stability.
13. Fixing a Loose Toilet Seat
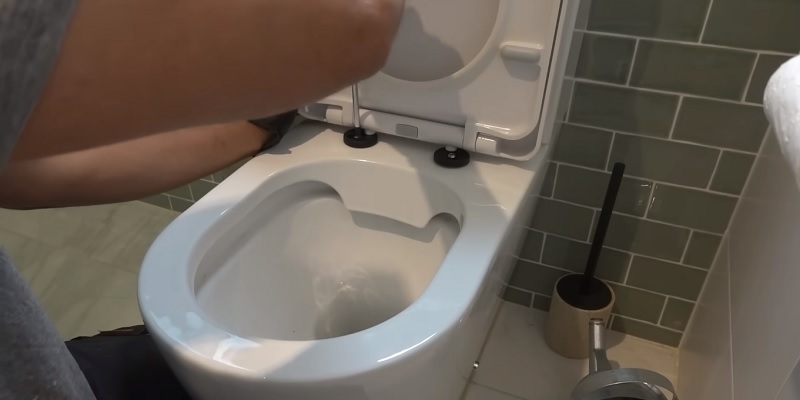
A loose toilet seat can be annoying and potentially dangerous. To fix a loose toilet seat, follow these steps:
Tools and Materials:
- Adjustable wrench
- Replacement bolts (if necessary)
Steps:
- Tighten the bolts connecting the seat to the toilet bowl using an adjustable wrench.
- If the bolts are damaged or corroded, replace them with new ones.
14. Fixing a Sticky Window
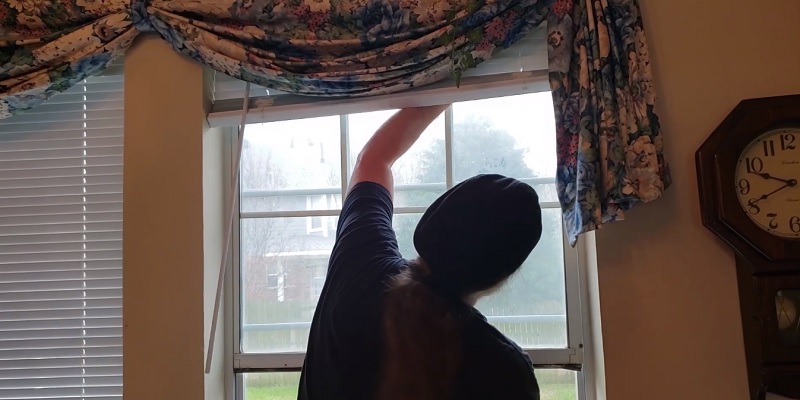
Sticky windows can be frustrating and may prevent proper ventilation. To fix a sticky window, follow these steps:
Tools and Materials:
- Silicone spray lubricant or paraffin wax
- Sandpaper (fine-grit)
- Clean cloth
- Vacuum cleaner
Steps:
- Clean the window tracks thoroughly using a vacuum cleaner to remove dirt and debris.
- Inspect the tracks for any visible damage or warping. If severe, you may need to replace the tracks.
- For minor issues, sand down any rough spots in the tracks with fine-grit sandpaper.
- Clean the tracks again with a damp cloth to remove sanding dust.
- Apply a silicone spray lubricant to the tracks, or rub paraffin wax along the tracks.
- Open and close the window several times to distribute the lubricant evenly.
- If the window still sticks, check if the paint is causing the issue. Gently run a utility knife between the window sash and frame to break any paint seal.
15. Replacing a Shower Head
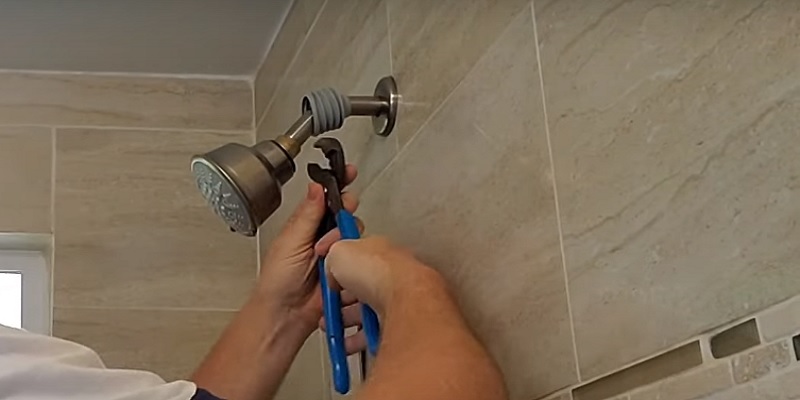
An old or clogged shower head can result in poor water pressure and an unsatisfying shower experience. To replace a shower head, follow these steps:
Tools and Materials:
- Adjustable wrench
- Teflon tape
- New shower head
Steps:
- Remove the old shower head by turning it counterclockwise with an adjustable wrench.
- Clean the shower arm threads and wrap Teflon tape around them.
- Screw the new shower head onto the shower arm and hand-tighten.
- Use the adjustable wrench to give the shower head a quarter turn, being careful not to overtighten.
16. Fixing a Leaky Garbage Disposal
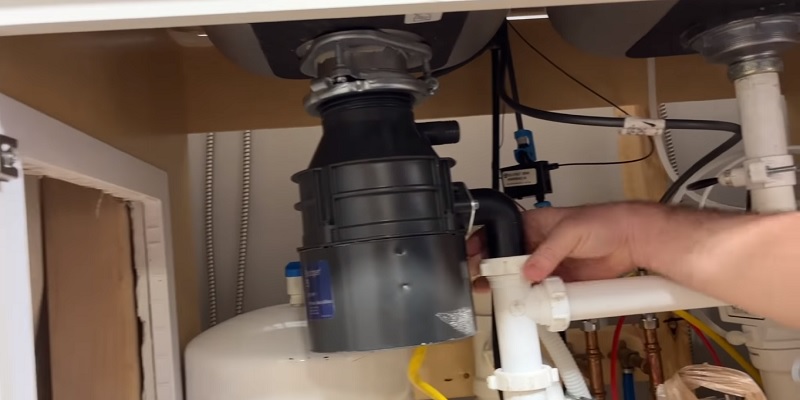
A leaky garbage disposal can cause water damage and unpleasant odors. To fix a leaky garbage disposal, follow these steps:
Tools and Materials:
- Plumber’s putty
- Screwdriver
- Replacement gasket or seal (if necessary)
Steps:
- Unplug the garbage disposal and turn off the water supply.
- Check the sink flange for damage and replace it if necessary.
- Remove the mounting bolts and the disposal unit.
- Replace the gasket or seal between the sink flange and the disposal unit.
- Reattach the disposal unit and tighten the mounting bolts.
- Plug in the disposal, turn on the water supply, and test for leaks.
17. Replacing a Smoke Detector Battery
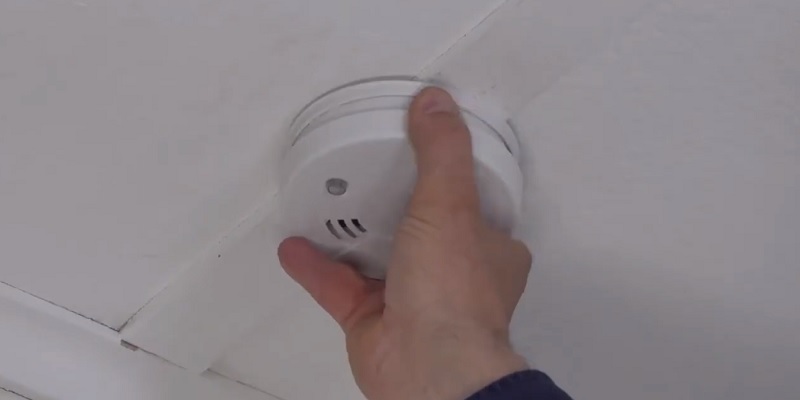
Smoke detectors are essential for home safety, and their batteries should be replaced regularly. To replace a smoke detector battery, follow these steps:
Tools and Materials:
- New 9-volt battery
- Ladder (if necessary)
Steps:
- Remove the smoke detector from its mounting bracket.
- Open the battery compartment and remove the old battery.
- Insert the new battery, making sure the positive and negative terminals are correctly aligned.
- Close the battery compartment and reattach the smoke detector to its mounting bracket.
- Test the smoke detector to ensure it’s working properly.
18. Repairing a Loose Electrical Outlet
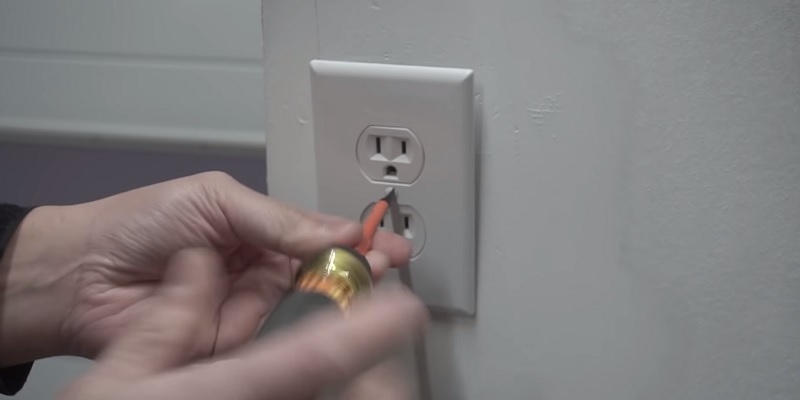
A loose electrical outlet can be a fire hazard and should be repaired immediately. To repair a loose electrical outlet, follow these steps:
Tools and Materials:
- Flathead screwdriver
- Outlet shims or spacers
Steps:
- Turn off the power to the outlet at the circuit breaker.
- Remove the outlet cover plate and unscrew the outlet from the electrical box.
- Place outlet shims or spacers on the mounting screws to fill the gap between the outlet and the electrical box.
- Screw the outlet back into the electrical box and reattach the cover plate.
- Turn the power back on and test the outlet for stability.
19. Fixing a Loose Towel Bar
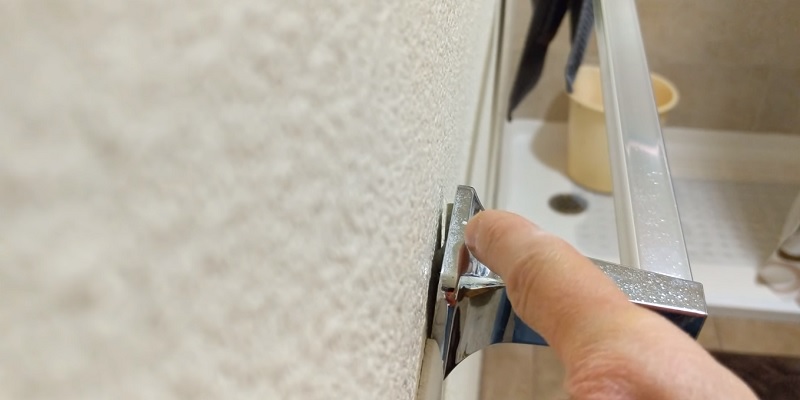
A loose towel bar can be frustrating and may cause damage to your walls. To fix a loose towel bar, follow these steps:
Tools and Materials:
- Screwdriver
- Drywall anchors (if necessary)
Steps:
- Tighten the screws securing the towel bar brackets to the wall.
- If the screws are loose due to stripped drywall, remove the brackets and install drywall anchors.
- Reattach the brackets to the wall using the drywall anchors and screws.
- Test the towel bar for stability.
20. Replacing a Worn-Out Door Sweep
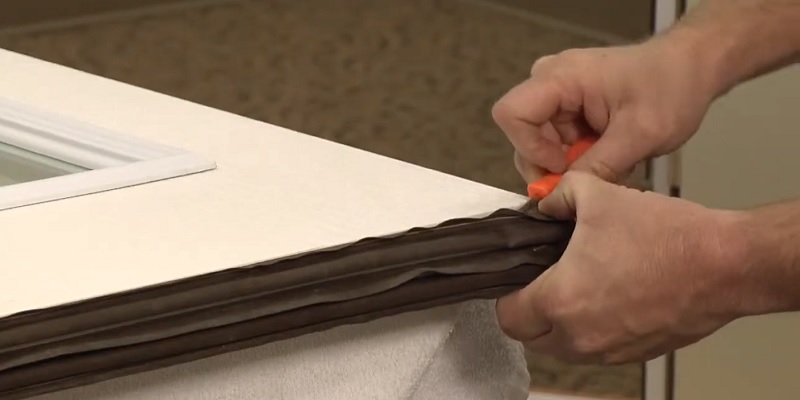
A worn-out door sweep can allow drafts and pests into your home. To replace a worn-out door sweep, follow these steps:
Tools and Materials:
- Screwdriver
- Utility knife
- New door sweep
Steps:
- Remove the old door sweep by unscrewing it from the bottom of the door.
- Measure the width of your door and cut the new door sweep to size if necessary.
- Attach the new door sweep to the bottom of the door using the provided screws.
- Ensure the sweep forms a tight seal against the floor when the door is closed.
21. Repairing a Loose Door Strike Plate
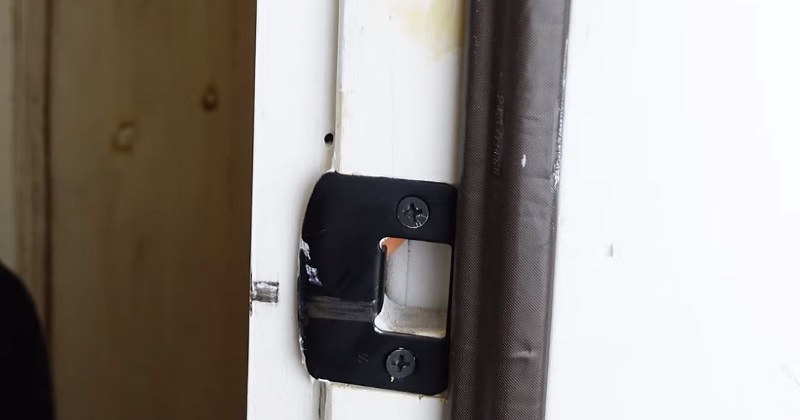
A loose door strike plate can make it difficult to latch a door properly. To repair a loose door strike plate, follow these steps:
Tools and Materials:
- Screwdriver
- Longer screws (if necessary)
Steps:
- Tighten the screws securing the strike plate to the door jamb.
- If the screws are too short to grip the wood, replace them with longer screws.
- Test the door to ensure it latches properly.
22. Fixing a Sagging Gate
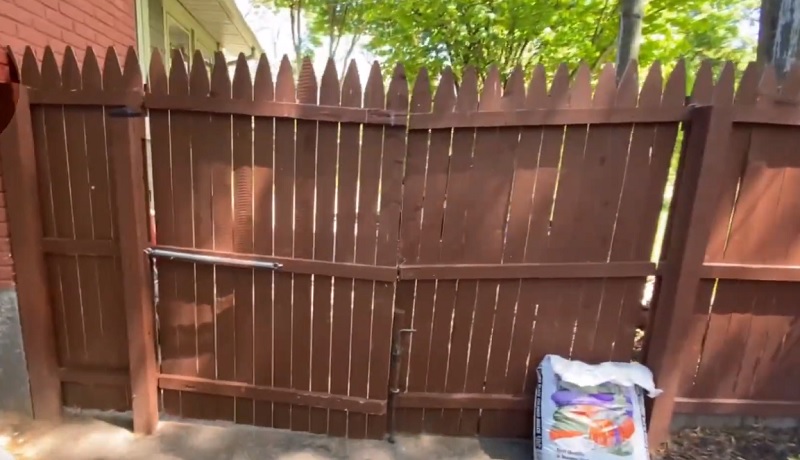
A sagging gate can be unsightly and may not function properly. To fix a sagging gate, follow these steps:
Tools and Materials:
- Screwdriver
- Adjustable wrench
- Level
- Gate hardware (hinges, latch, etc.)
Steps:
- Remove the gate from its hinges.
- Check the hinges and latch for damage or wear, and replace them if necessary.
- Reattach the hinges to the gate and the gate post, ensuring they are level and properly aligned.
- Adjust the latch as needed to ensure the gate closes and latches securely.
23. Replacing a Worn-Out Faucet Aerator
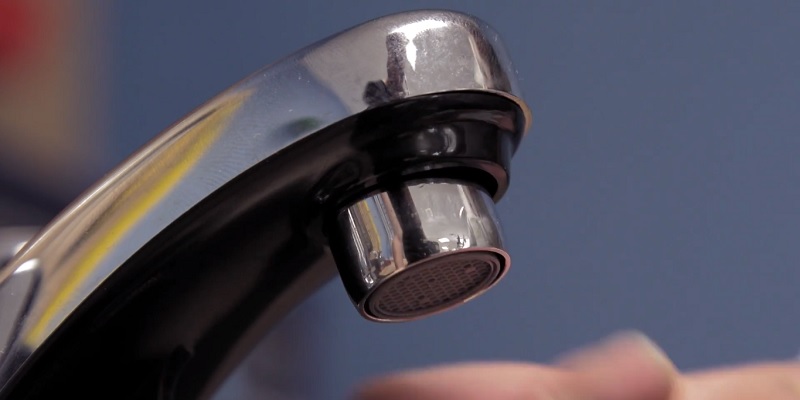
A worn-out faucet aerator can result in poor water flow and splashing. To replace a worn-out faucet aerator, follow these steps:
Tools and Materials:
- Adjustable wrench
- New faucet aerator
Steps:
- Unscrew the old aerator from the faucet using an adjustable wrench.
- Clean the faucet threads to remove any debris or mineral buildup.
- Screw the new aerator onto the faucet and hand-tighten.
- Use the adjustable wrench to give the aerator a quarter turn, being careful not to overtighten.
24. Repairing a Dripping Outdoor Spigot
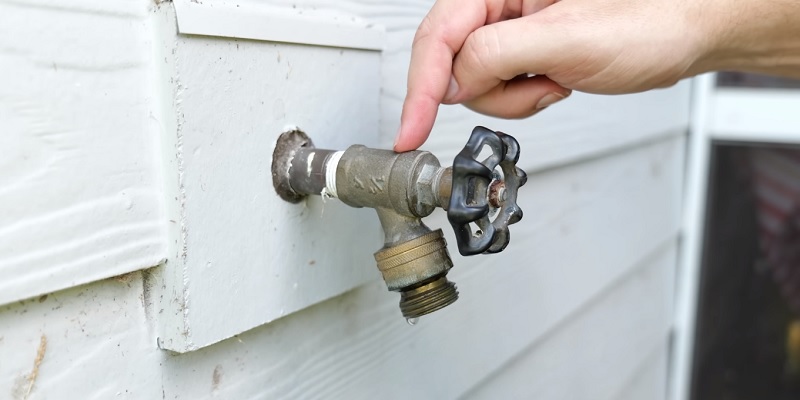
A dripping outdoor spigot (also known as a hose bibb or outdoor faucet) can waste water and potentially cause damage to your home’s foundation. Here’s how to fix it:
Tools and Materials:
- Adjustable wrench
- Flathead screwdriver
- Replacement washer or O-ring
- Plumber’s grease
- Packing material (if needed)
Steps:
- Shut off the water supply to the outdoor spigot. This valve is usually located inside the house, often in the basement or crawl space.
- Open the spigot fully to drain any remaining water.
- Using an adjustable wrench, remove the handle by unscrewing the packing nut behind it.
- Remove the valve stem by unscrewing it from the faucet body. You may need to use pliers for this step.
- Inspect the washer at the end of the valve stem. If it’s worn or damaged, replace it with a new one of the same size.
- Check the O-ring on the valve stem. If it’s cracked or worn, replace it.
- Apply a small amount of plumber’s grease to the new washer and O-ring.
- If the packing around the valve stem is worn, remove the old material and wrap new packing material around the stem.
- Reassemble the spigot by screwing the valve stem back into place, replacing the packing nut, and reattaching the handle.
- Turn the water supply back on and test the spigot for any leaks.
25. Repairing a Loose Showerhead Arm
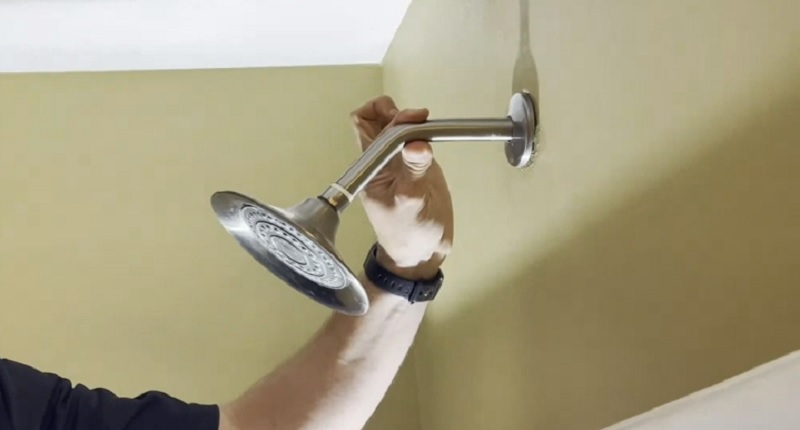
A loose showerhead arm can cause the showerhead to droop or leak. To repair a loose showerhead arm, follow these steps:
Tools and Materials:
- Adjustable wrench
- Teflon tape
Steps:
- Remove the showerhead from the arm by turning it counterclockwise.
- Tighten the connection between the showerhead arm and the shower pipe using an adjustable wrench.
- If the connection still feels loose, remove the arm and wrap Teflon tape around the pipe threads.
- Reattach the showerhead arm and tighten it with the adjustable wrench.
- Reattach the showerhead and test for leaks and stability.
26. Fixing a Loose Toilet Paper Holder
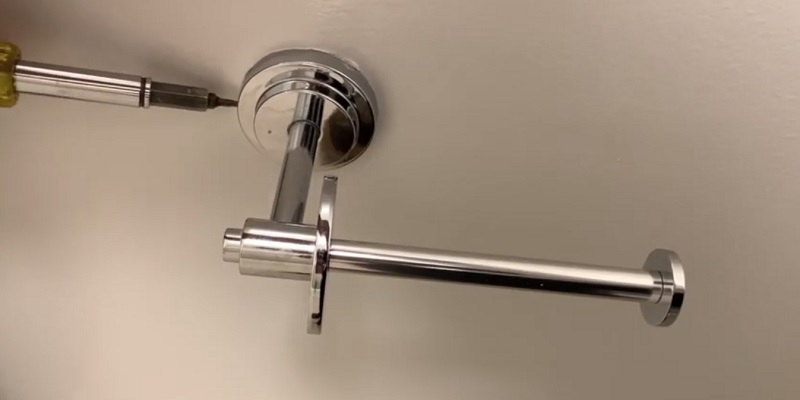
A loose toilet paper holder can be annoying and may cause damage to your bathroom wall. To fix a loose toilet paper holder, follow these steps:
Tools and Materials:
- Screwdriver
- Drywall anchors (if necessary)
Steps:
- Tighten the screws securing the toilet paper holder to the wall.
- If the screws are loose due to stripped drywall, remove the holder and install drywall anchors.
- Reattach the holder to the wall using the drywall anchors and screws.
- Test the toilet paper holder for stability.
27. Replacing a Damaged Tile Grout
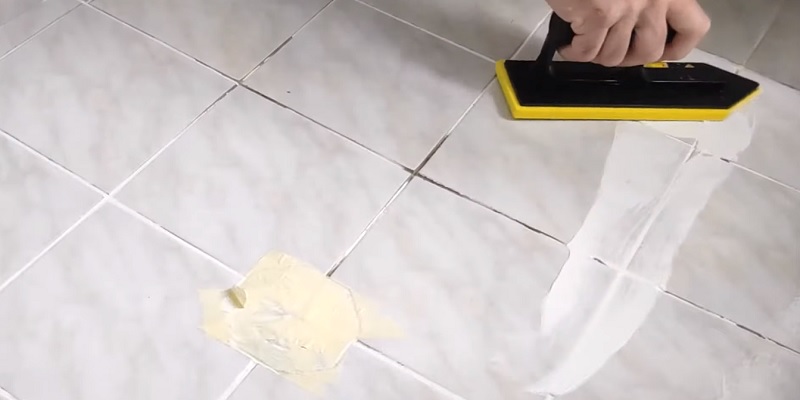
Damaged tile grout can allow water to seep behind tiles and cause damage. To replace damaged tile grout, follow these steps:
Tools and Materials:
- Grout saw or utility knife
- Grout float
- Sponge
- New grout (matching color)
Steps:
- Remove the damaged grout using a grout saw or utility knife.
- Clean the gaps between the tiles to remove any debris.
- Mix the new grout according to the manufacturer’s instructions.
- Apply the grout to the gaps using a grout float, making sure to fill them completely.
- Use a damp sponge to remove excess grout and smooth the grout lines.
- Allow the grout to cure according to the manufacturer’s instructions.
28. Fixing a Loose Cabinet Door
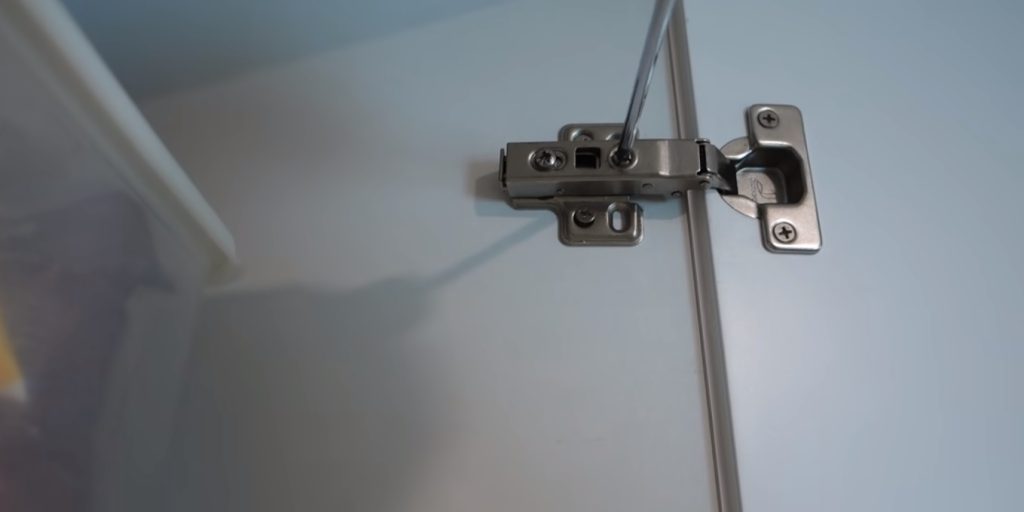
A loose cabinet door can be frustrating and may cause damage to the cabinet or its contents. To fix a loose cabinet door, follow these steps:
Tools and Materials:
- Screwdriver
- Wood glue (if necessary)
Steps:
- Tighten the screws securing the hinges to the cabinet door and frame.
- If the screws are stripped, remove them and fill the holes with wood glue.
- Insert new screws and tighten them securely.
- Test the cabinet door for proper alignment and smooth operation.
29. Repairing Clogged or Damaged Gutters
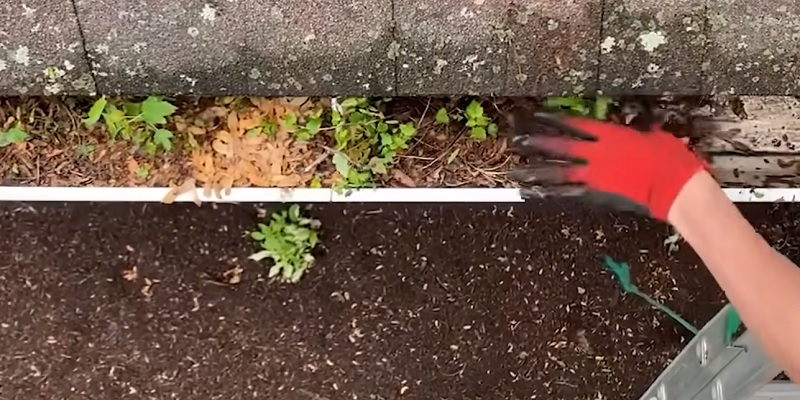
Clogged or damaged gutters can cause water damage to your home. Here’s a quick fix:
Tools and Materials:
- Ladder
- Work gloves
- Gutter scoop
- Garden hose
- Gutter sealant
- Gutter patches (if needed)
Steps:
- Safely set up ladder and wear gloves.
- Remove debris from gutters using a scoop.
- Flush gutters with a hose to check drainage and leaks.
- For leaks, clean area and apply gutter sealant.
- For small holes, use sealant. For larger holes, apply a patch.
- Tighten or replace loose gutter hangers.
- Ensure proper gutter slope for water flow.
- Test gutters by running water through them.
Read Also: How to Clean Gutters with Leaf Blower
30. Cleaning a Dryer Vent
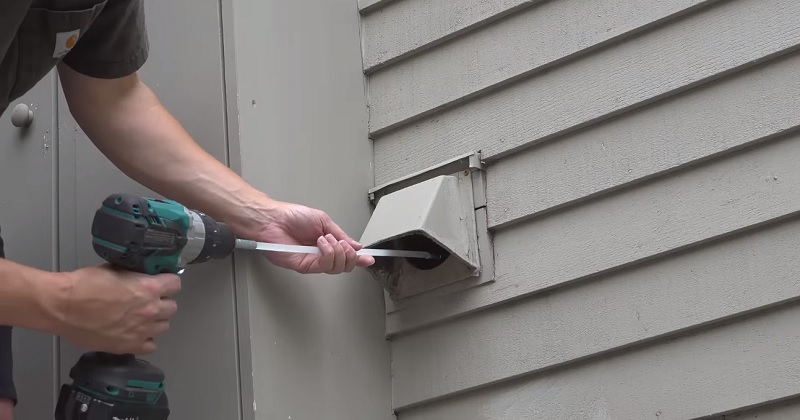
A clogged dryer vent reduces efficiency and increases fire risk. Here’s a quick, easy clean:
Tools:
- Dryer vent brush kit
- Cordless drill
- Vacuum with hose attachment
- Screwdriver
Steps:
- Unplug dryer and disconnect vent pipe.
- Vacuum dryer vent opening and inside pipe.
- Attach vent brush to cordless drill.
- Insert brush into vent and spin while pushing through.
- Clean from inside to outside vent.
- Clean exterior vent cover.
- Vacuum dislodged debris.
- Reconnect vent pipe and test dryer.
Pro Tip: Using a drill makes cleaning faster and more thorough.
Tips for Beginners
As a beginner, tackling home repairs can be intimidating. Here are some tips to help you gain confidence and ensure successful repairs:
- Start with simple projects and work your way up to more complex tasks.
- Always read instructions and manuals thoroughly before starting a repair.
- Gather all necessary tools and materials before beginning a project.
- Take safety precautions, such as wearing protective gear and ensuring proper ventilation.
- Don’t be afraid to ask for help or advice from more experienced DIYers or professionals.
- Know your limits and call a professional when a repair is beyond your skill level or comfort zone.
Remember, even the most experienced DIYers started as beginners. With practice and patience, you’ll gain the skills and confidence to tackle a wide range of home repairs.
Final Thoughts
DIY home repairs are a valuable skill set for any homeowner. By learning to address common issues yourself, you can save money, time, and gain a deeper understanding of your home’s maintenance needs. Start with simple projects and work your way up to more complex repairs as you build your confidence and expertise.
Remember, this guide is just the beginning. Don’t be afraid to explore and take on new challenges.
If you found this guide helpful, be sure to check out our other DIY guides and resources on our website. With a little effort and determination, you’ll be well on your way to becoming a confident and capable DIY home repair enthusiast.

